Dear Readers,
Facebook wants you to share as much information as possible. Advertisers like all that data too. One key thing to remember, the Internet is forever. Once you have posted something online, it does not belong to you anymore.

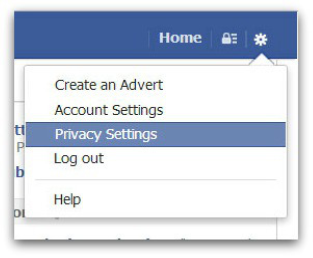
All this means your default privacy settings probably don’t jibe with how you want to actually share your information. With a few small setting adjustments, you can take back control and make sure you share only what you want.
Lists
One of the most useful ways to optimize your Facebook sharing is to share updates with a select group of people through the creation of lists. To create a list or manage ones you’ve already got, go to the Friends section in the left-hand navigation panel, then click “More,” which is to the right of the Friends header. There, you can see all of the lists you’ve created and edit their members. You can also create a list by clicking “+ Create List,” naming it, and adding the friends you’d like include.
Blocking
Got one person that keeps annoying you with constant event invites? Tired of receiving app invitation requests for the latest Facebook gaming fad? Under the “Blocking” section, you can block specific users, app invites from specific users, event invites from specific users, or invites from specific apps.
Security
Towards the top of the left-hand navigation panel is a header titled “Security.” You’ll want to enable both Secure Browsing and Login Notifications (which lets you know if your account gets logged into from a new browser or device) for both email and text/push notifications.
As another security precaution, enable approvals for logging in from an unknown browser and enabling Code Generator, which adds a layer of security when linking an app to Facebook.
Privacy
We’ll start with the “Who can see my stuff” section. In the drop-down menu, click “Custom.” If you want to keep it simple, you can opt to share only with Friends. This allows your posts to be shared with friends of those you tag in your photos.
If you want tighter control, uncheck the box for sharing with “Friends of those tagged,” and specify who you don’t want future posts shared with.
Limit the audience for old posts on your Timeline.
To adjust what shows up on your Timeline, the simplest way is to go through your Activity Log. Facebook keeps track of every action you take.
If you liked a post that could be deemed unsavory in the future, here you can unlike it so it doesn’t show up on your Timeline or through Facebook Graph Search.
In the “Who can contact me” section, if you often meet new people outside your usual social circles, you may want to leave “Who can send you friend requests” open to everyone. Otherwise, you can limit the friend requesting to Friends of Friends.
The default of Basic filtering should be fine when it comes to what messages you want filtered to your inbox.
How searchable do you want to be?
Who do you want to be able to look you up with your email and phone number? To stay on the safe side, I recommend Friends only. Keeping this setting locked down reduces the amount of spammy and unwanted friend requests you get.
You’ll want to limit “Who can look up your timeline by name?” to just your friends. So for the next setting, switch “Do you want other search engines to link to your timeline?” to Off.
Timeline and Tagging
Keeping control of who can view what on your Timeline, as well as your tagging settings, comes down to personal preference. It’s always a good idea to review the photos you’ve been tagged in before they get widely broadcast to your friends. For “Who can see posts you’ve been tagged in on your Timeline,” you can set it to Friends only as a default, or Friends, with the exception of some of your lists.